Pattern
Herringbone, running bond, basketweave, stack bond and ashlar all change the look and how the surface behaves. Try them in our paver design studio.

Paver patios
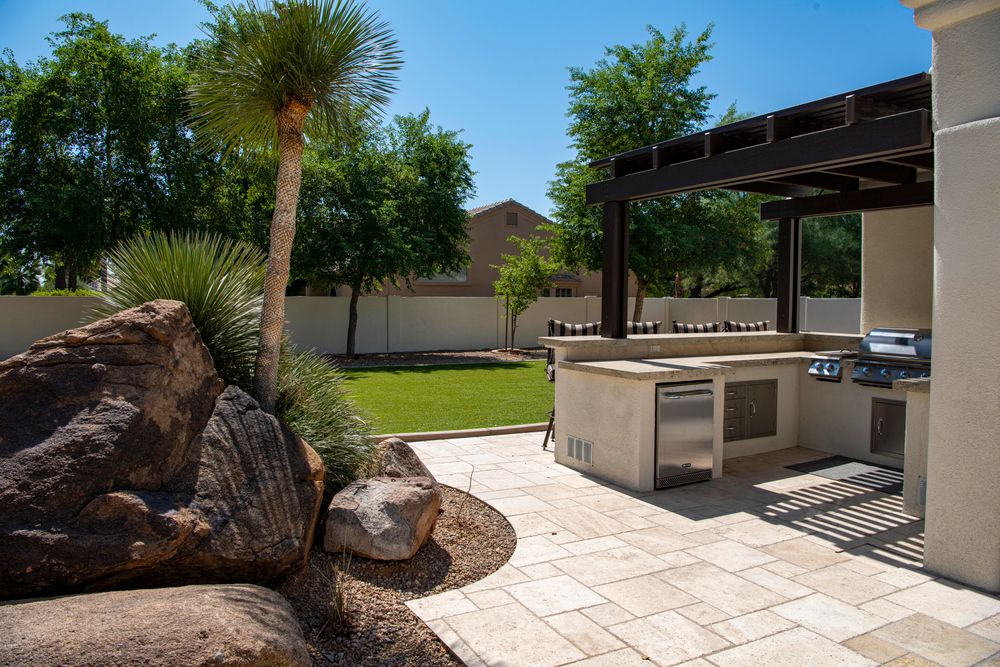
A paver patio gives you a flat, tough spot for dining, grilling and hanging out. We lay out the shape, build a compacted base, set the pavers and lock them in, so it looks right and stays put.
Built from the ground up
Before a single paver goes down, we dig out the area, build a compacted rock base and set the grade so rainwater runs away from your house. The pavers sit on a thin layer of bedding sand and are locked together by sand in the joints and a solid edge around the outside.
The surface can be a simple rectangle off the back door or a curved shape that wraps around a fire pit. We'll help you pick a size, a laying pattern and a color that suit the house and the way you actually use the yard.
How it is built
Five steps, and the first four happen before you see a finished surface.
We measure the space, agree on the shape and pattern, and mark it on the ground. We also work out where water will go. CMHA calls for a surface slope of at least 1.5%, roughly 3/16 inch per foot, so the patio sheds water instead of holding it.
We excavate to the depth needed for the base, bedding sand and paver, and take out sod and any soft soil that would settle later.
The base is crushed rock, compacted in layers with a plate compactor. For a patio on well-drained soil the CMHA minimum is 4 inches. Clay, soft or wet ground calls for more.
A layer of bedding sand about 1 inch thick is screeded flat. The pavers go down in your pattern, and we cut the ones at the edges to fit.
Edge restraints hold the perimeter in place. The pavers are compacted into the sand, joint sand is swept in, and the surface is compacted again until the joints are full.
The details
Paver figures follow guidance from the Concrete Masonry & Hardscapes Association (CMHA, formerly ICPI). Your yard may need more than the minimums.
Make it yours
Herringbone, running bond, basketweave, stack bond and ashlar all change the look and how the surface behaves. Try them in our paver design studio.
Charcoal and slate look modern and hide dirt. Sandstone and terracotta feel warm and earthy. We bring samples so you can see them in your own light.
A contrasting border frames the patio and gives the edge a clean finish. A fire pit, seating wall area or path can tie into the same surface.
Photos
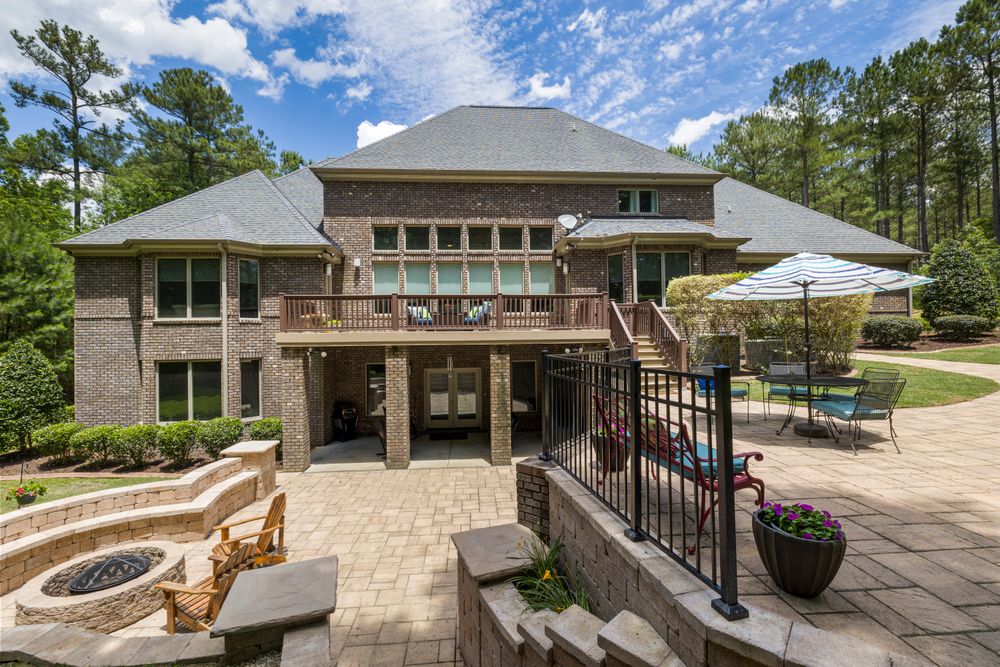
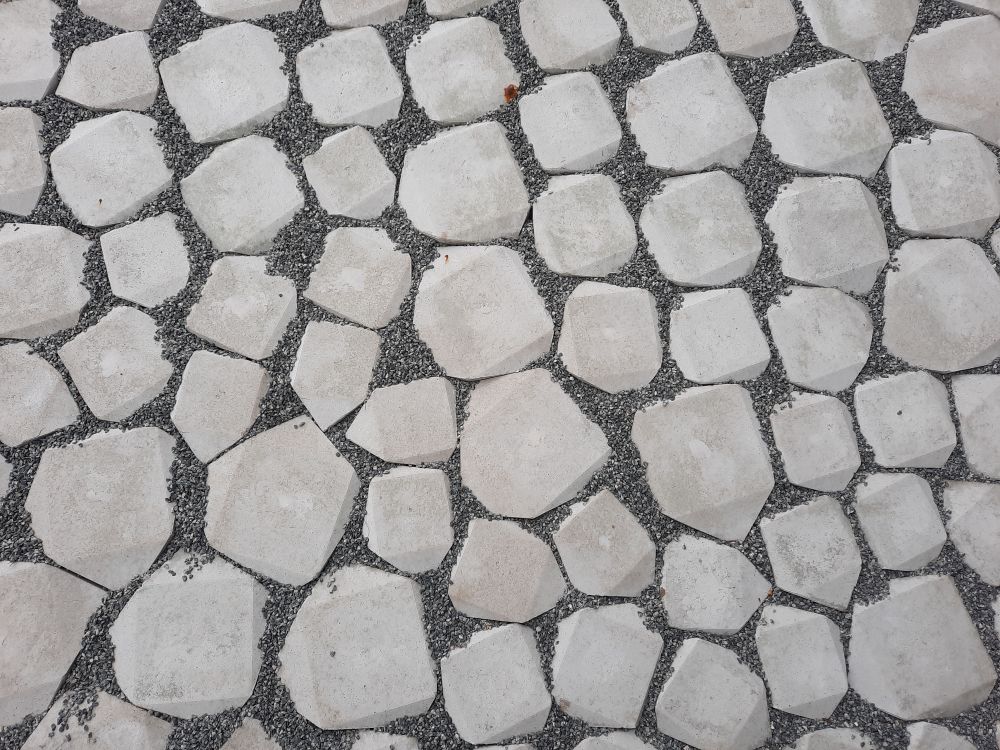
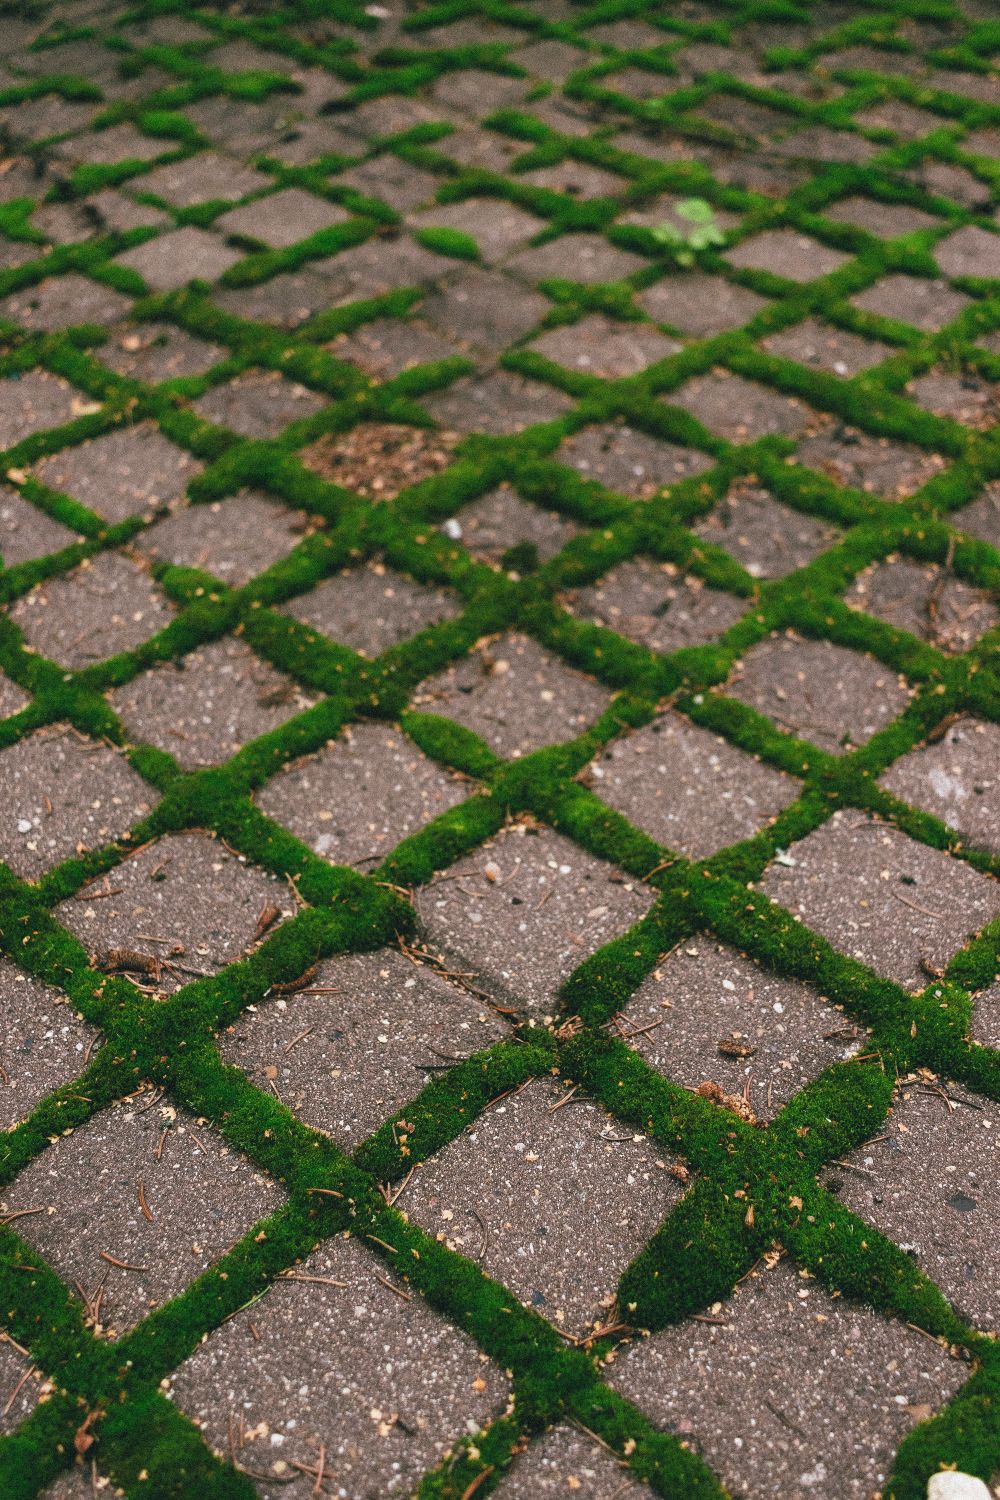
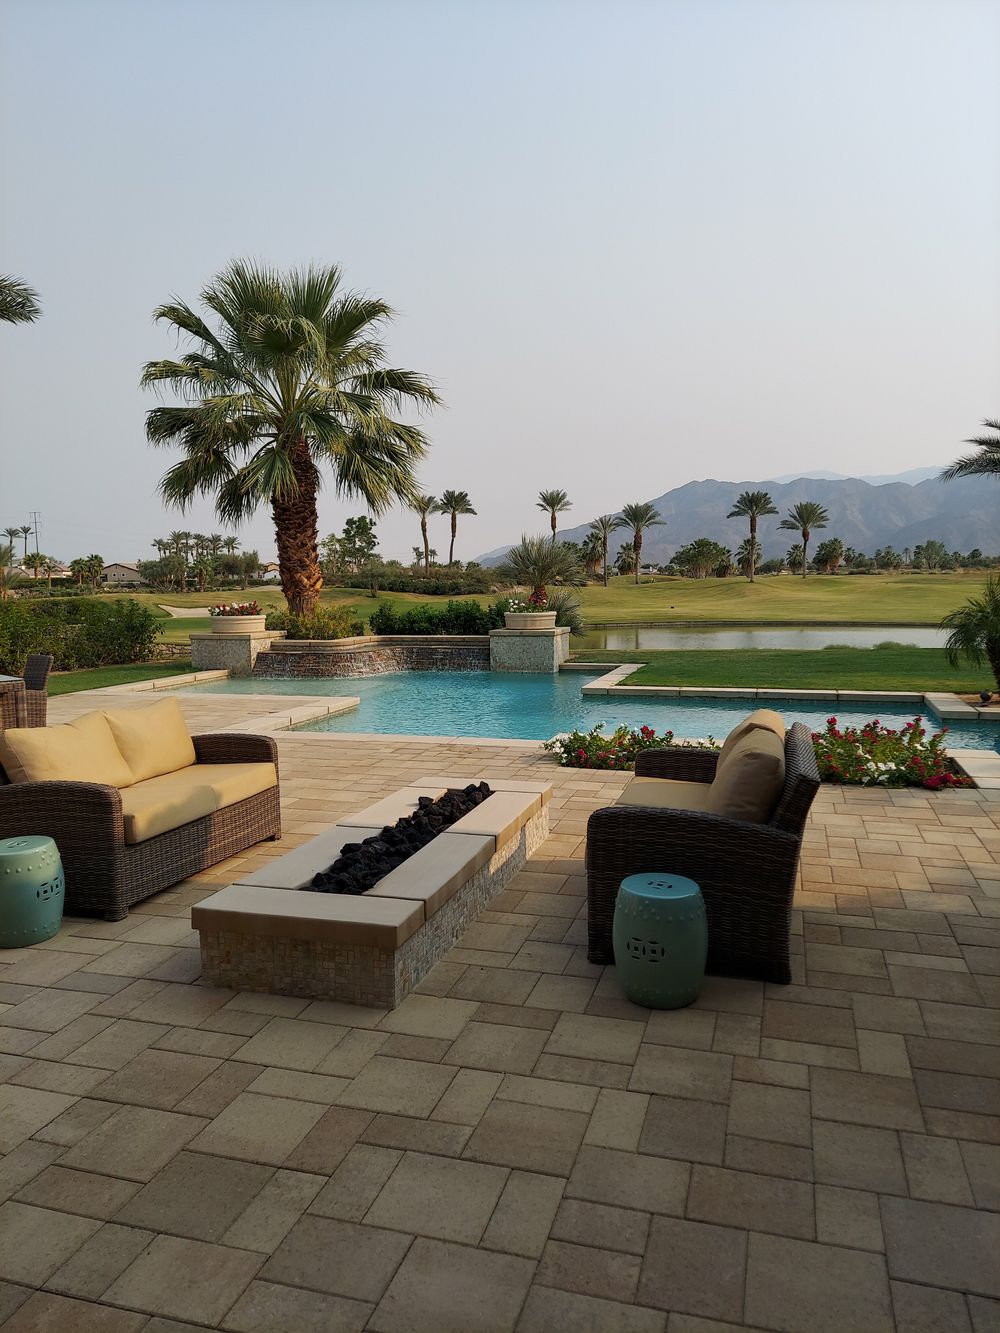
Stock photos for inspiration. Tap one to see it larger, then ask us what is possible in your yard.
Afterward
Joint sand is part of what holds pavers together. If it washes out over the years, sweeping in fresh sand keeps the surface tight.
A whitish powder called efflorescence can show up on new pavers. CMHA says it does not affect strength or durability, can peak as early as 60 days after installation and may linger for months.
A sealer can deepen color and help resist stains. Types differ in finish and how long they last, so we will talk through whether it makes sense for your patio.
Related services
Most yards need more than one trade. These pair well with this one.
 Pavers
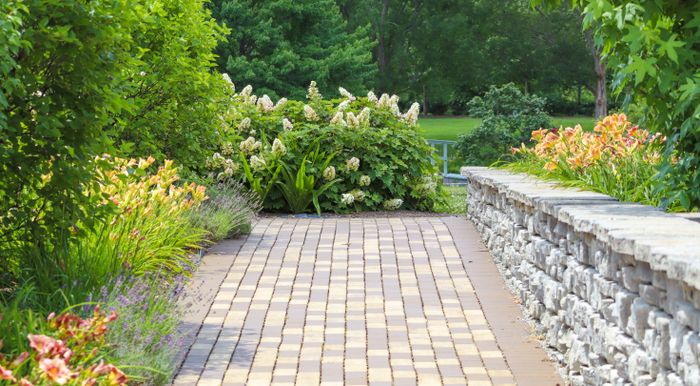
Walkways and steps that feel good underfoot and stay easy to keep clean. Straight, curved or stepped to follow the lay of your yard.
See details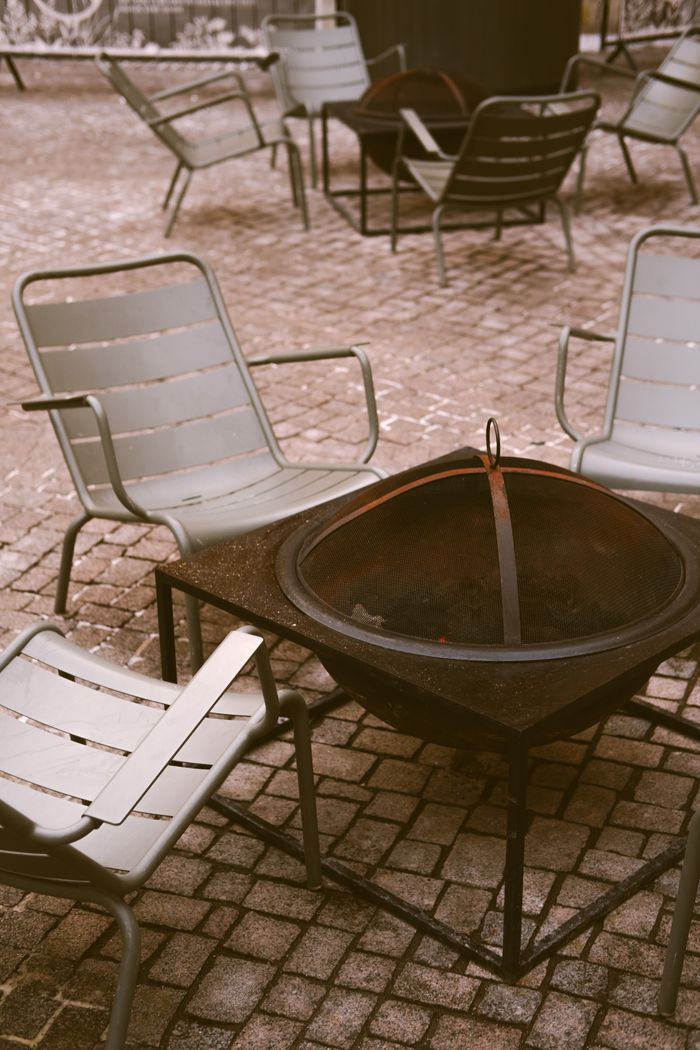 Pavers
Add a fire pit, seating area or a bigger patio footprint, so the yard works after dark too.
See details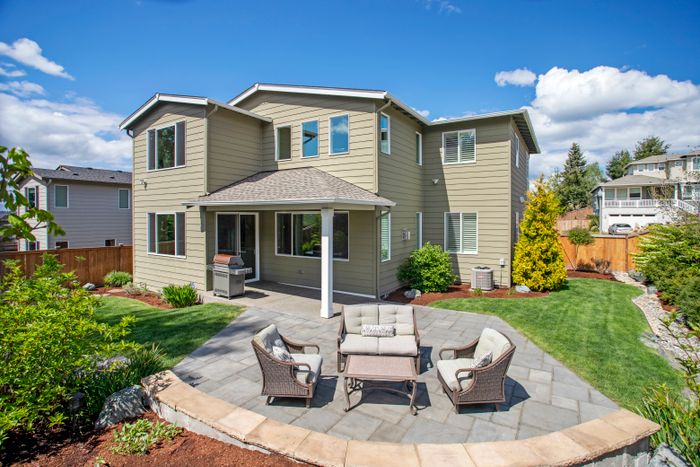 Concrete
Flat, smooth and built to last. Concrete patios, walkways, pads and slabs poured and finished to the shape you need.
See detailsWhere we work
Based in Menlo Park, working in 20 Bay Area cities. Pick yours to see what we build there.
Questions
CMHA calls for at least 4 inches of compacted base under a patio on well-drained soil. Soft, clay or wet ground needs more, and we check the ground at your free estimate before we talk about depth.
Not always. Sealing can deepen the color and help resist stains, but it is optional. If you want it, we'll go over the finish and what upkeep it needs.
That is usually efflorescence, a natural mineral deposit. CMHA says it does not affect how strong the pavers are, and it often fades with time and weather.
A patio at ground level often doesn't need a building permit, but cities can have rules about how much of a lot can be paved and how water drains. We'll point out what to check for your address, and it is always worth confirming with your city.
Pavers cost more up front, offer more patterns and colors, and can be repaired one section at a time. Concrete usually costs less up front and takes little upkeep, but it can crack as the ground moves. We'll go over both at your free estimate.
Let's talk
Call, text, email or send a request. Tell us what you want to build and we'll set up a free estimate.
Free estimates for pavers, concrete and fences, from Menlo Park to the whole Bay Area.
Menlo Park, CA · Serving the whole Bay Area · Estimates are free
